
Maybe you’ve convinced yourself (or are trying to) after reading the benefits of adding Arabic Calligraphy to your Muslim Homeschool and now wondering how to get about this daunting task?
No worries, I’ve got you.
Let’s simplify it:
Your Intentions
First and foremost, don’t fret. You are not responsible for creating master calligraphers at home. That is not expected of you. Your young children are also not ready for it. You only need to create that spark and ready the background for their interest to develop. Their own creativity and talent would lead the way.
Instead intend this art as an act of worship and devotion. Your intentions is to learn how to beautify the Words of Allah in their written form and then create Quranic reminders for you and your close ones so they provide opportunities for reflection. May Allah reward you. Ameen.
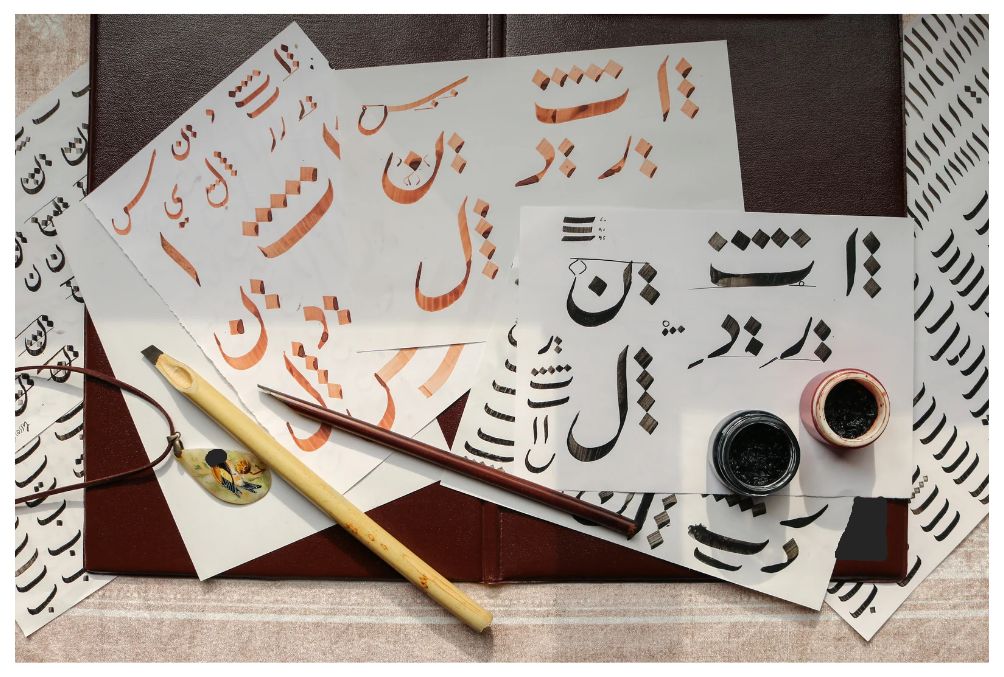
Required Materials
Your usual Google search will take you to a complicated looking toolkit. I’ll make it homeschool friendly for you – a beginner.
1. Two pencils (not circular grip. Ideally triangular but hexagonal work just as well)
2. A rubber band or tape
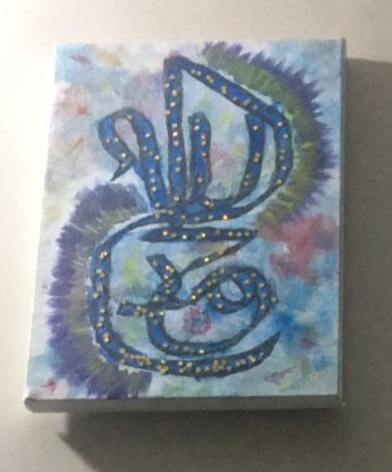
3. Paper/Notebook or even a painting canvas!
4. Ruler
5. Chisel Tip Marker
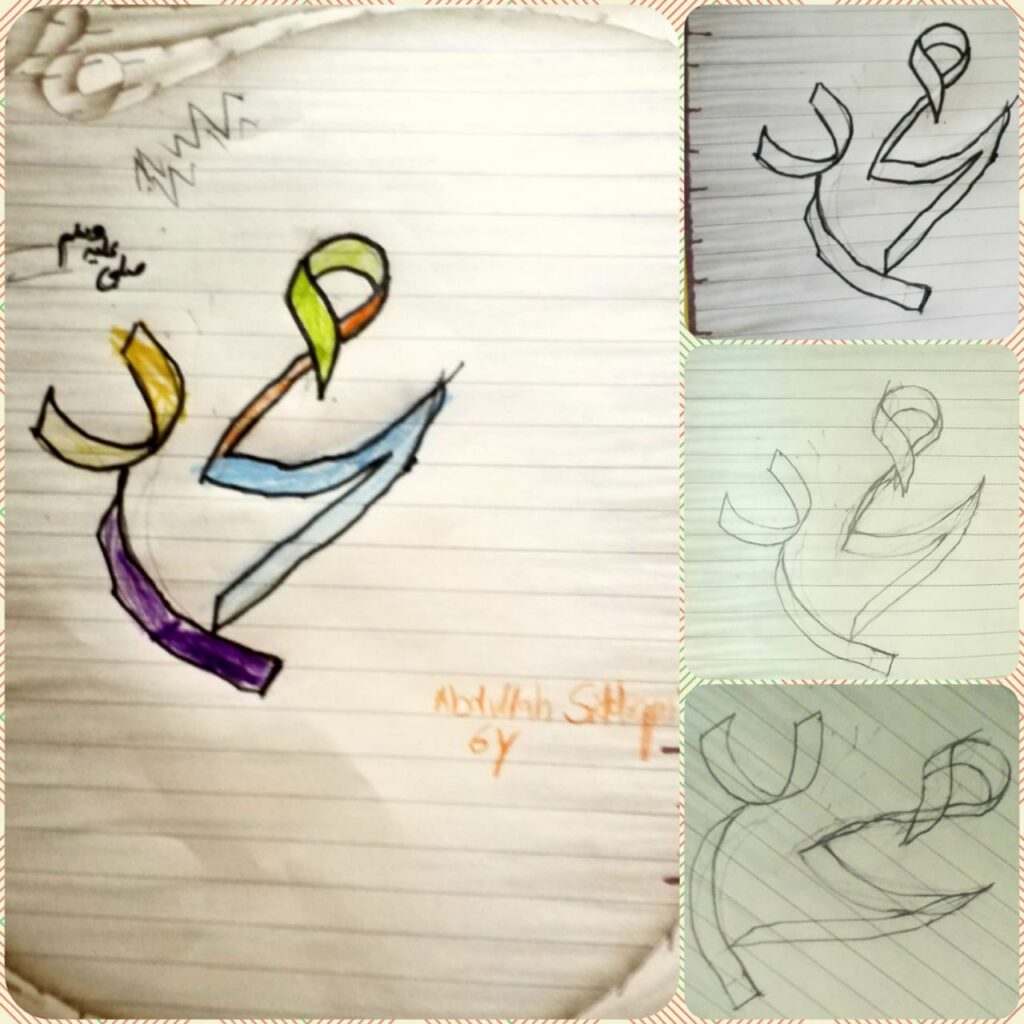
That’s it for now. By sticking the pencils together and moving them across the page without rotating your hand, you will discover it creates a ribbon effect. That’s the basics of Thuluth Script – an easy and elegant script of Arabic calligraphy.
You can also use chisel tip marker for the desired effect. Pencils just allow more room for mistakes and corrections.
If you allow drawing on screens, then a tablet with stylus and a drawing application with a chisel tip brush can also do the trick.
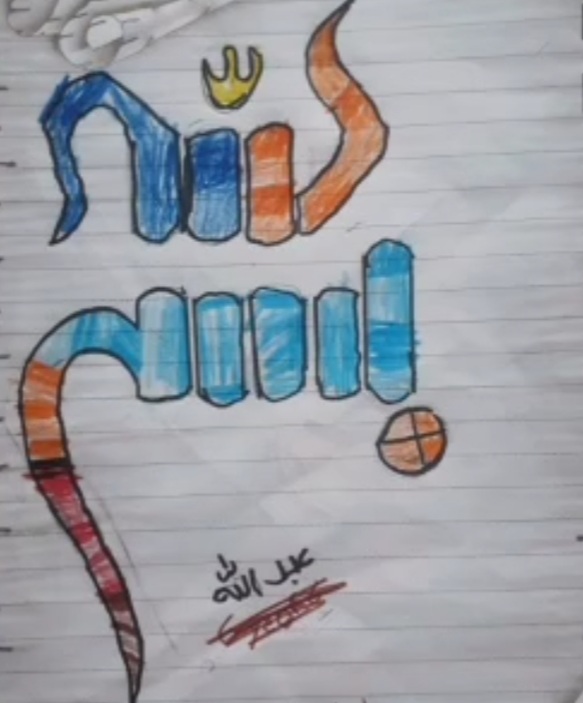
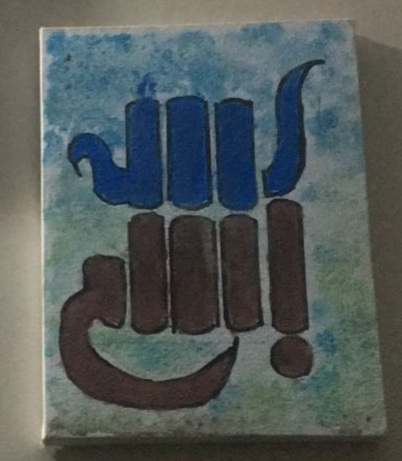
Kufic Square Scripts are easy to copy. They follow a strict rule of evenness of full and empty space. Children could experiment with this script after learning the basics on a grid paper with a black (or any other color) pencil.
Some Drawing Applications::
If you’d like your kids to practice Calligraphy on their devices, these are few applications that can help you.
- Procreate (only for iOS)
- Sketchbook
- Infinite Painter
How about doing it the REAL way?
You’ll need:
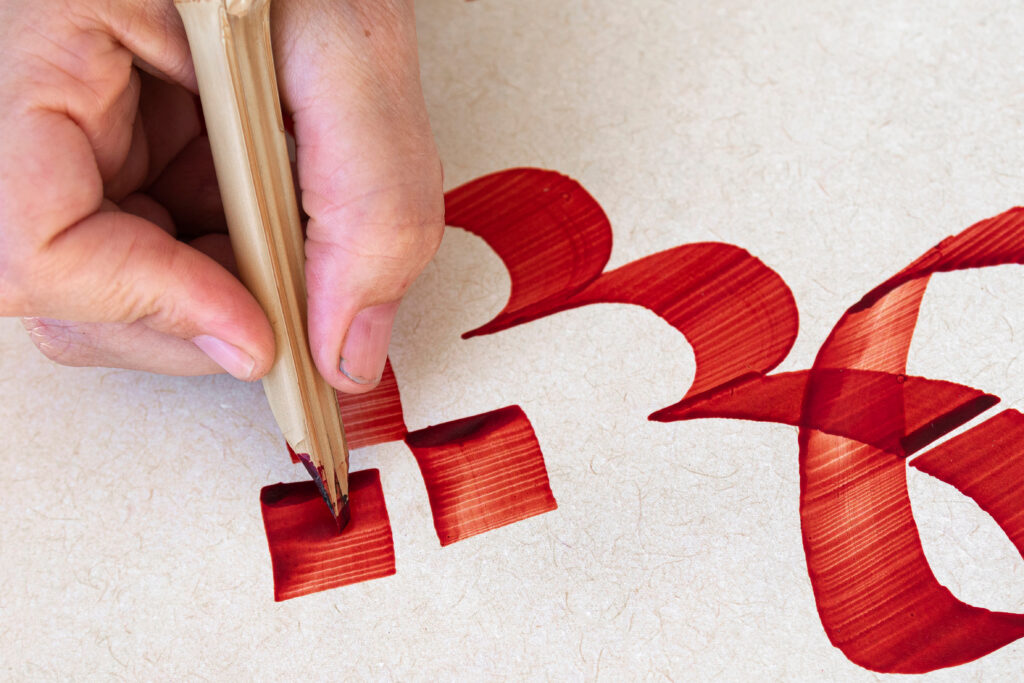
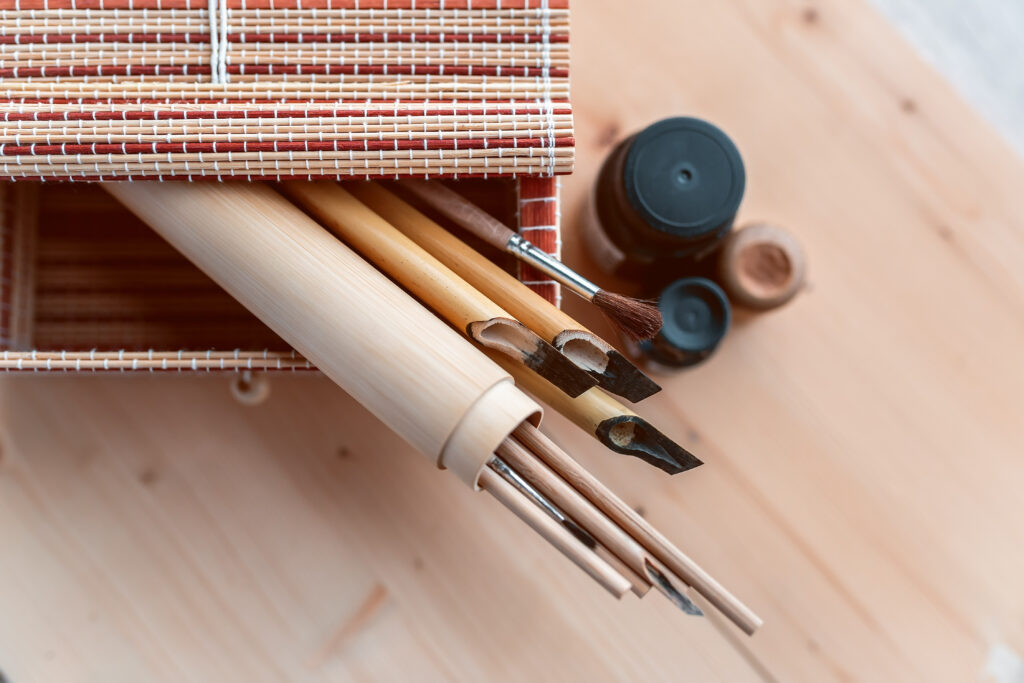
1. A bamboo/wooden/plastic qalam with a chisel tip. They come in different sizes so start with what is easy for you to manage.
2. Ink pot
3. A small piece of sponge or fabric scourer. This is to be submerged in ink and used absorb excess ink from the Qalam to prevent ink drops and run offs.
4. A gloss finish thick paper.
Where to Start
Its better to start only after your children can identify and write Arabic Alphabets. Ideally, I’d recommend practicing with calligraphic Arabic alphabets worksheets but since they are not always easily available, we will have to improvise.
Look up pictures similar to this and practice the letters with your double pencils. You can also add the nukta (measurements dots) or allow a simple practice of the unique way your hand is to move.
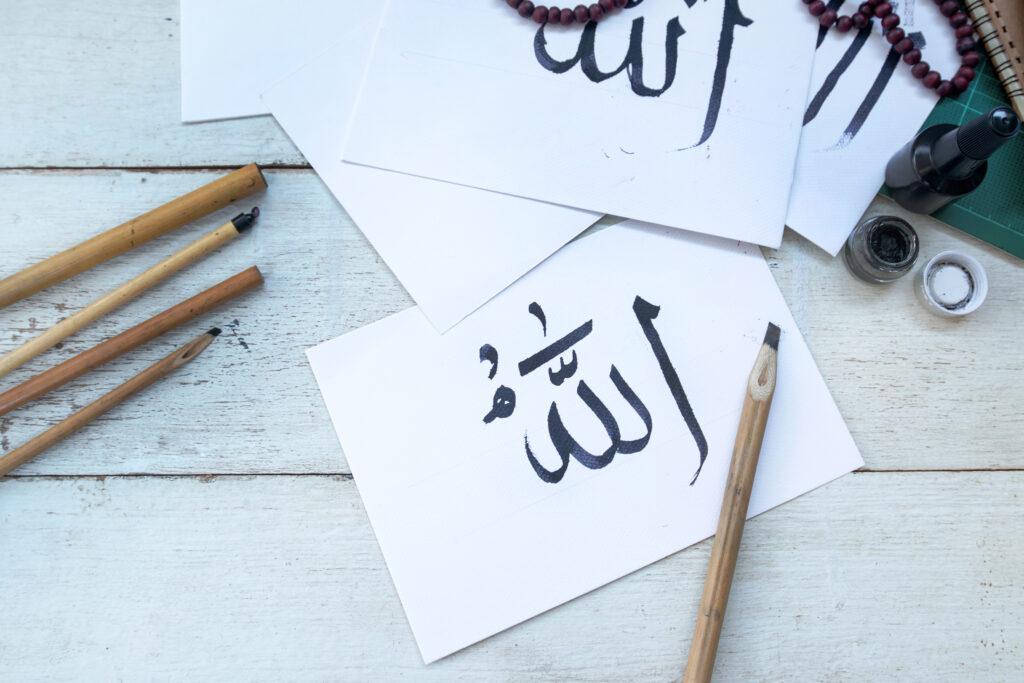
If your kids already know their Arabic alphabets and want to jump right in. These are the few easy projects they could try:
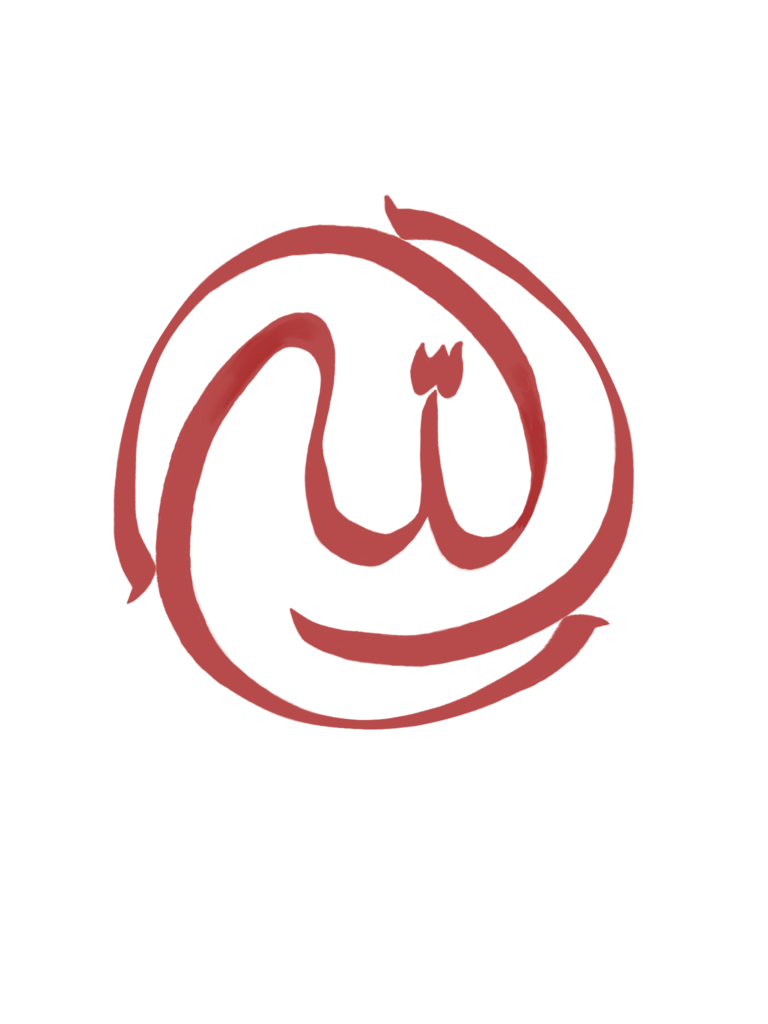
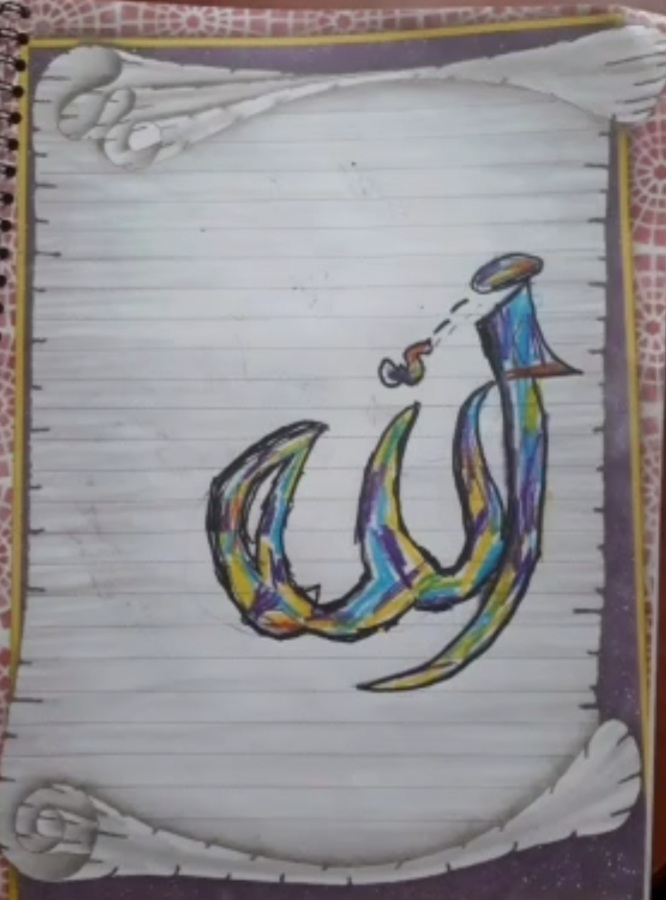
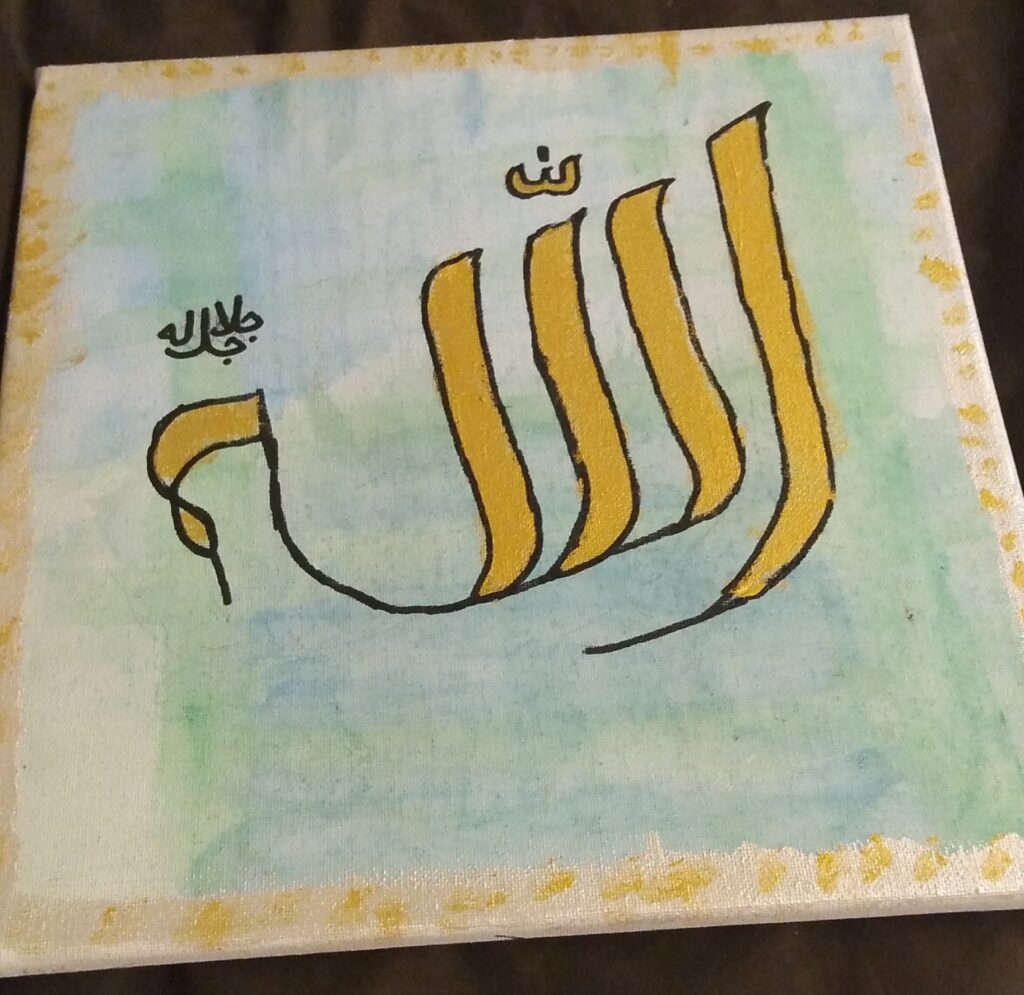
1. الله
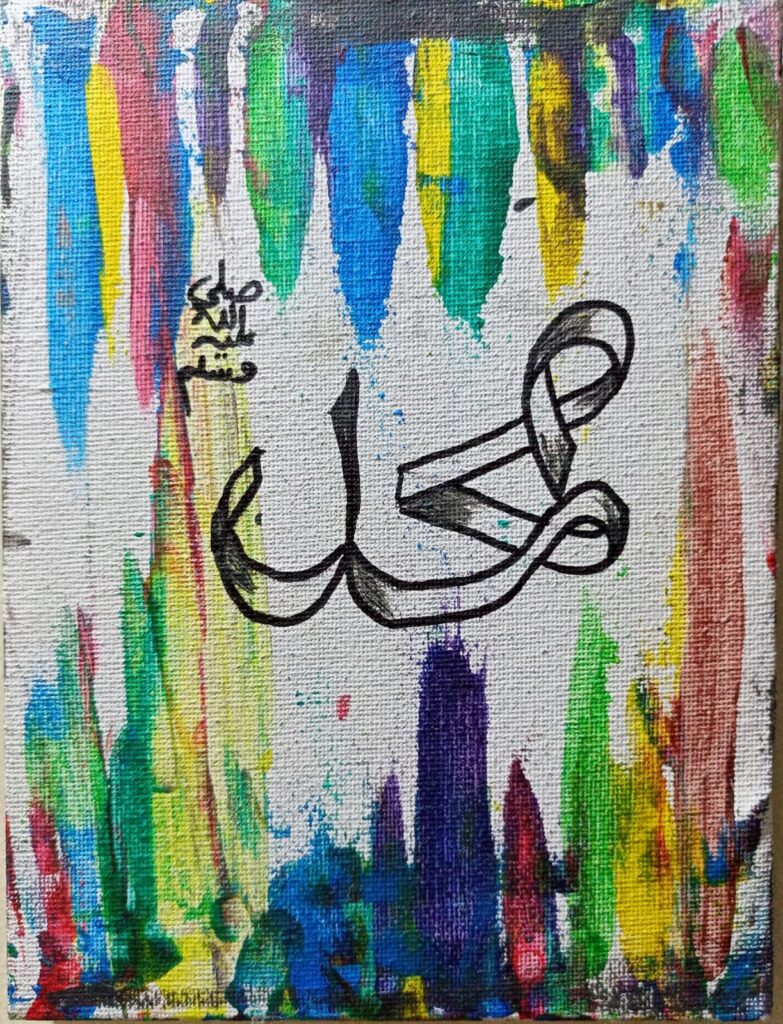
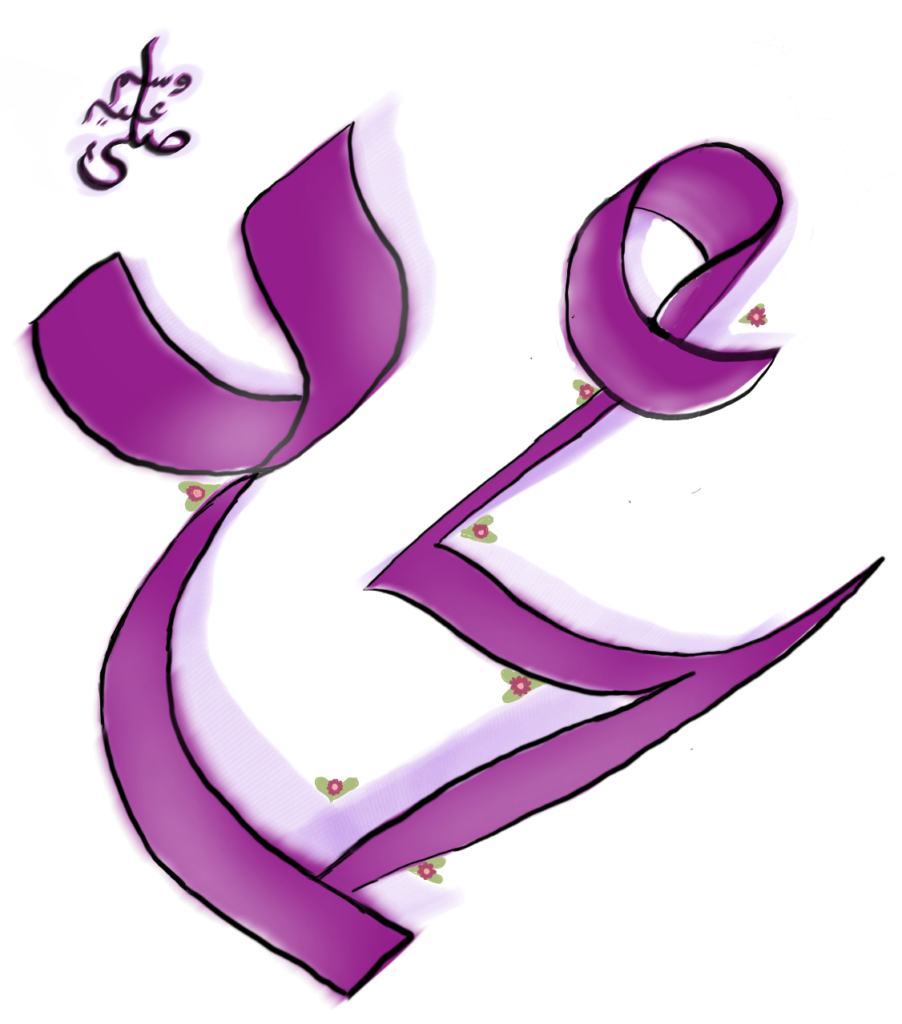
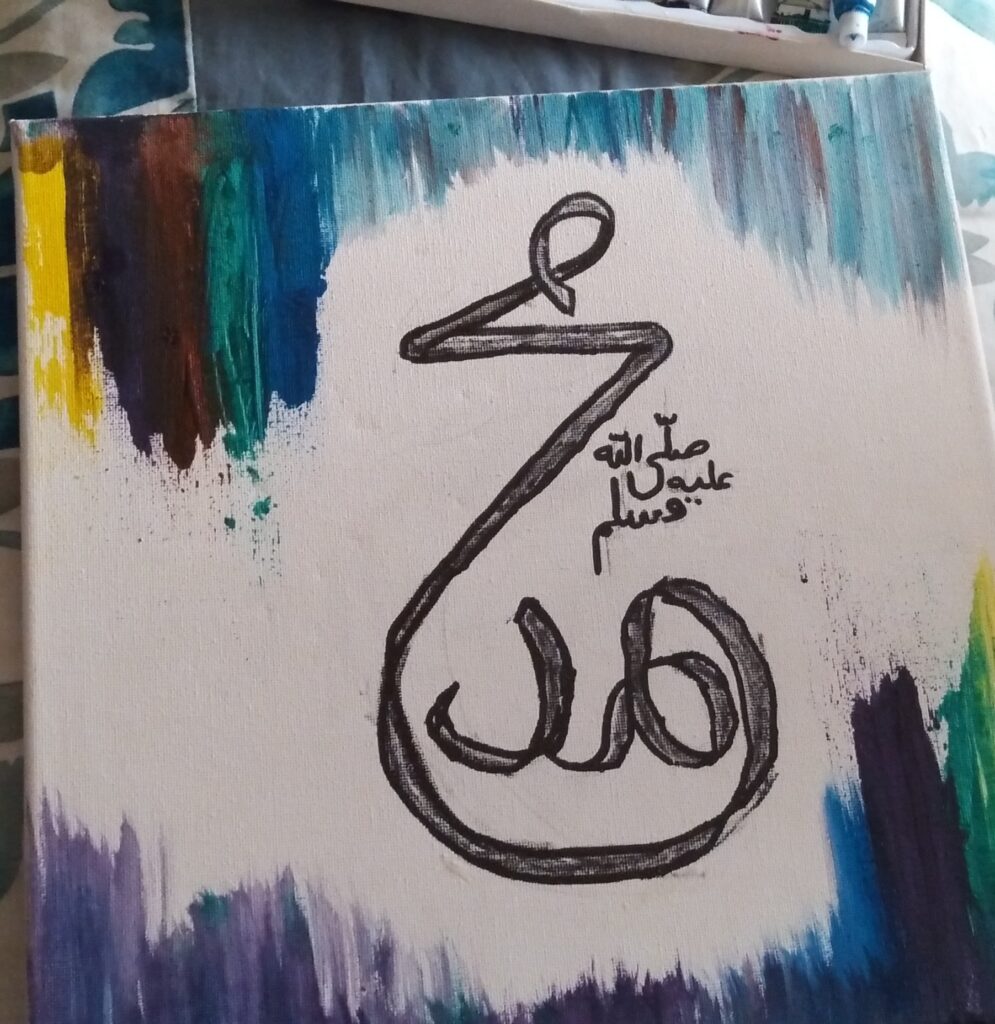
2. محمد(ص)
3. Any of the 99 Names of Allah
4. بسم الله
5. الحمد لله
6. الله اكبر
7. ماشاءالله
8. سبحان الله
9. The meanings we don’t know
10. Small snippets or Ayat from the Quran
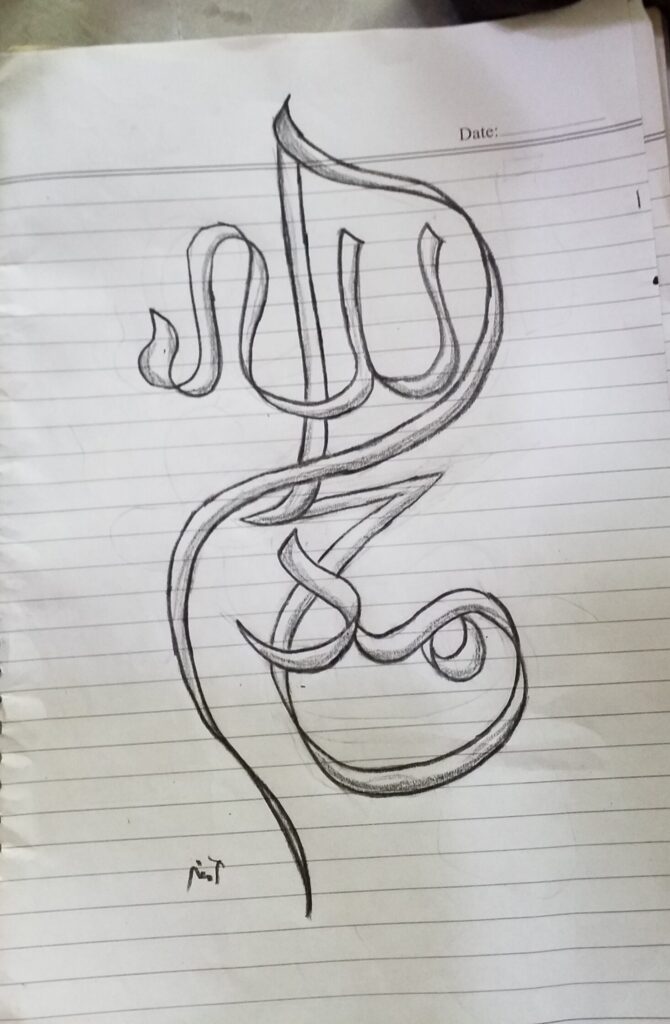
You can move onto bigger and sophisticated projects as they get more familiar. They can also learn to bind themselves to the rules of any script to create more professional pieces after learning them. In my humble opinion, since your initial medium of calligraphy is a double pencil, then the Thuluth script should be your the first script that you study and I’ll be sharing how to hold and move your double-pencils for this.
Directions
If you choose to practice simple boxed Kufic calligraphy, all you’d need it your ruler and single pencils for the draft.
If you are digitally drawing then adjust the chisel tip angle to a slant instead of a 90° or 180°. If you have a specific calligraphy you’d like to try then put in another layer for reference or draw over.
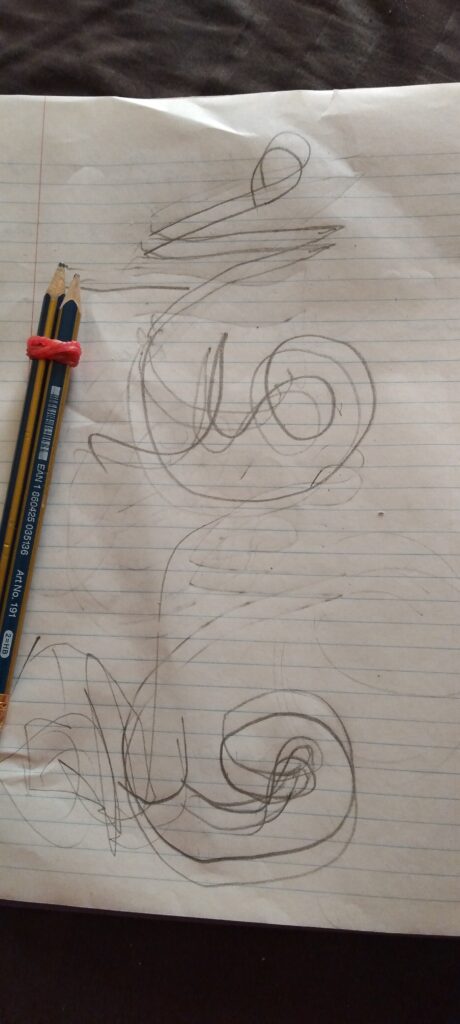
To imitate the Thuluth script or to do calligraphy with a ribbon effect there is a specific way to move your hand and double pencils/chisel tip marker. Hold your double pencil to the page and adjust the slant angle. You are now to only move your arm to drag your hand across the page instead of your wrist. Your wrist and your fingers should not be twisting like they do in usual handwriting. Maintain the angle that you initially adjust and do the all the curves and straight lines with it. After finishing you first draft outline, you can connect the two lines with one pencil to close the straight lines and the curves. Proper shading can help you achieve a fantastic ribbon effect.

Frequency
Calligraphers are expected to practice their art daily if possible however you could add Calligraphy to your already packed Homeschool routine by finding a relevant Arabic phrase, word or one of Allah’s 99 Names to any of your unit study as your Art section instead of any other craft. There is always space to experiment with other art skill in the background of your calligraphy.
Arabic Calligraphy Resources
Disclaimer: These links are not sponsored nor does Ami-Ji Homeschools claim any affiliation with the programs or authors.
Arabic Calligraphy Thuluth Scipt Practice Pdf
Self Learn Calligraphy Books
Free Calligraphy Worksheets
Calligraphy Classes (Arabic Language)
Calligraphy Video Tutorials
Guide for Kufic Script of Arabic Calligraphy
iPad Arabic Calligraphy Course


Pingback: 8 Ways Arabic Calligraphy Can Fire Up Your Muslim Homeschool - Ami-Ji Homeschools